Warning
You are reading an old version of this documentation. If you want up-to-date information, please have a look at 2025.11 .Start using your Asycube
Your Asycube is now mounted and configured. This section will introduce the Terminal that can be used to test the communication with the Asycube and present you the basic production scenario.
Terminal
Click on . The Terminal page (Fig. 5) will appear.
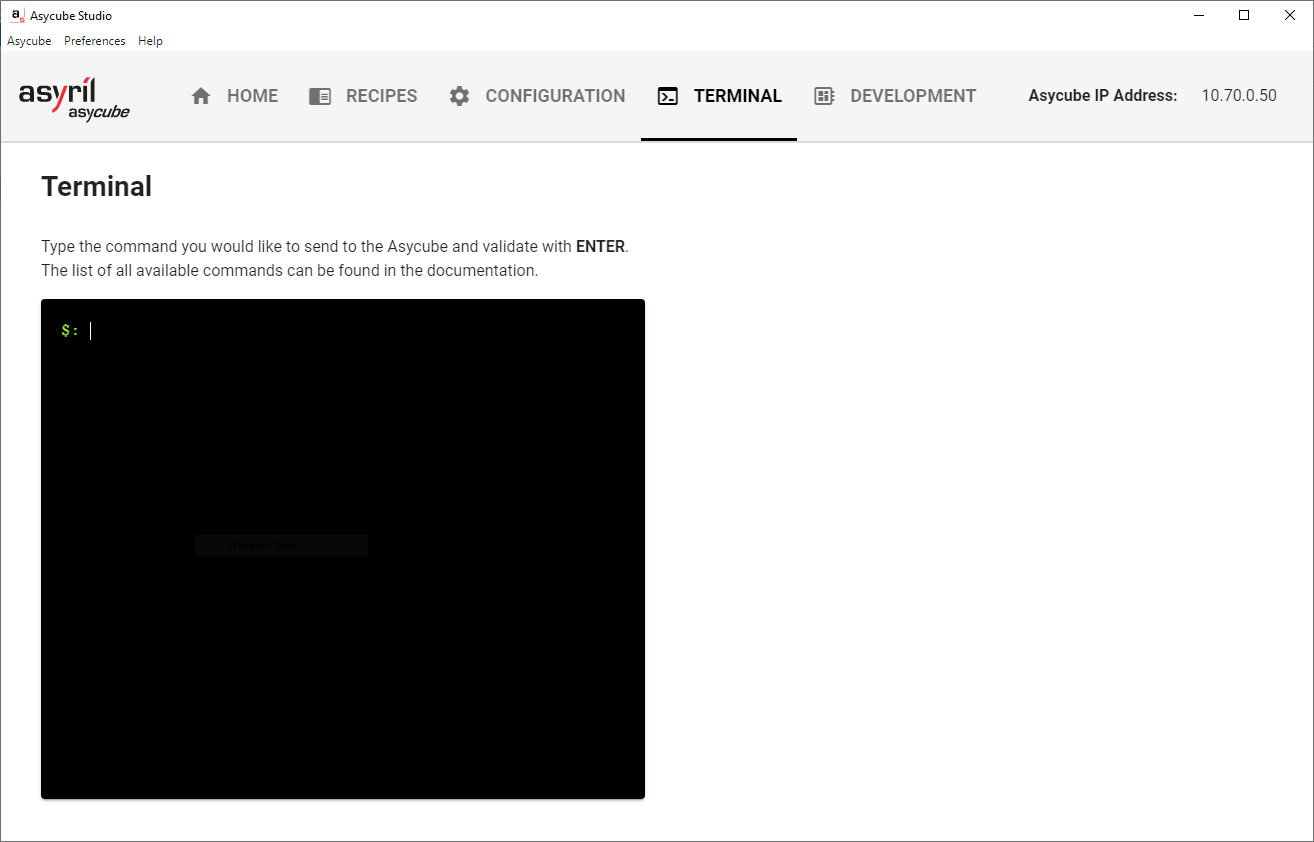
Fig. 5 Terminal page
The terminal communicates with the Asycube through TCP/IP socket messaging.
Basic production scenario
This production scenario represents the most standard way to integrate an Asycube and uses only two commands : UR - Set recipe and ES - Execute sequence.
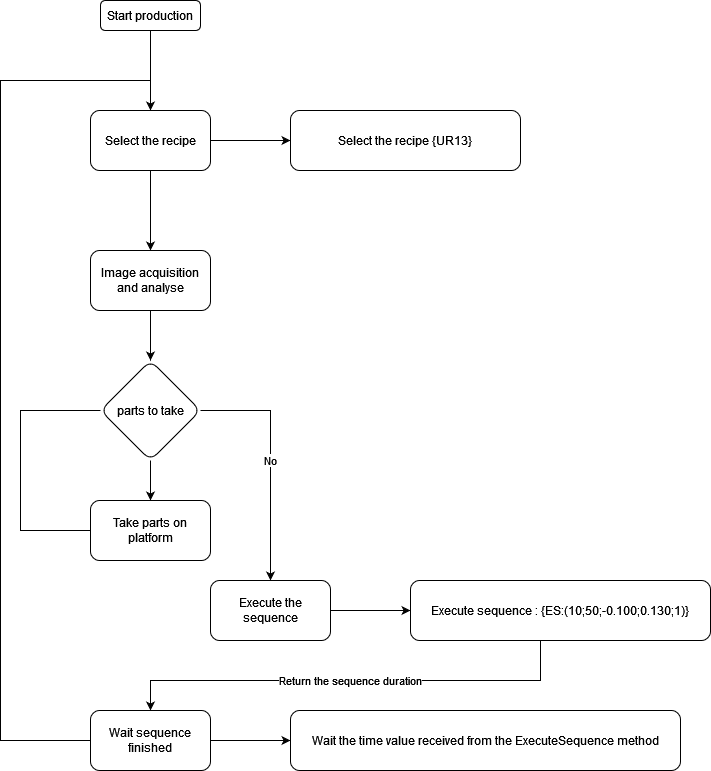
Fig. 6 Description of sequences
For details of the different parameters, see the complete description of the Commands.
Your first vibration sequence
Now you are ready to implement your first robot/PLC program to communicate with the Asycube.
Note
More information on communication and commands can be found in the TCP/IP section.