Warning
You are reading an old version of this documentation. If you want up-to-date information, please have a look at 2025.11 .Installation and Connection
Prerequisite
To install and execute Asycube Studio, you need the following elements:
Computer with Windows 10 or higher (64-bit)
Admin access to install the software for all users, otherwise local installation is possible
Download
Latest version of Asycube Studio can be downloaded here.
Installation
Step 1: Launch the downloaded windows installer.
Step 2: Read and accept the license agreement.
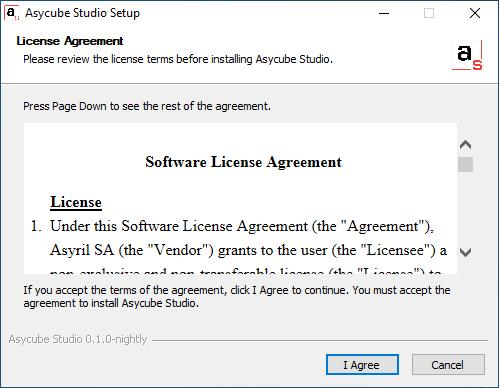
Fig. 81 Asycube Studio Software License Agreement
Step 3: Choose if the software will be installed for you only or for all users (will require admin credentials).
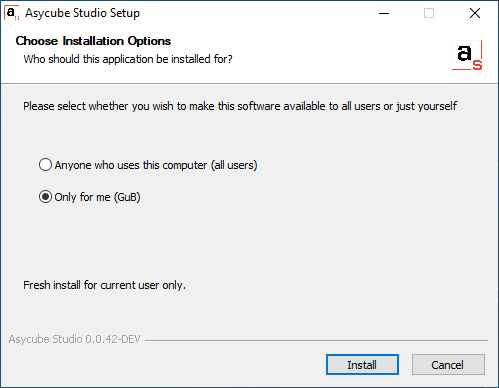
Fig. 82 Asycube Studio Installation Options
Step 4: Validate and wait for the installation to complete.
Fig. 83 Asycube Studio Installing
Step 5: Installation is complete. Choose if you want to open Asycube Studio now or later.
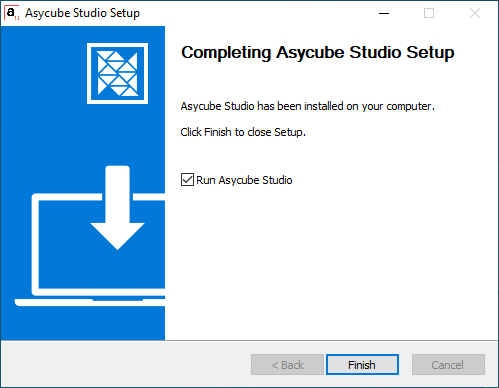
Fig. 84 Asycube Studio Installation Complete
Connection
Important
Only one instance of Asycube Studio should be connected to each Asycube. Also, we do not advise to use Asycube Studio and Asyril HMI in parallel.
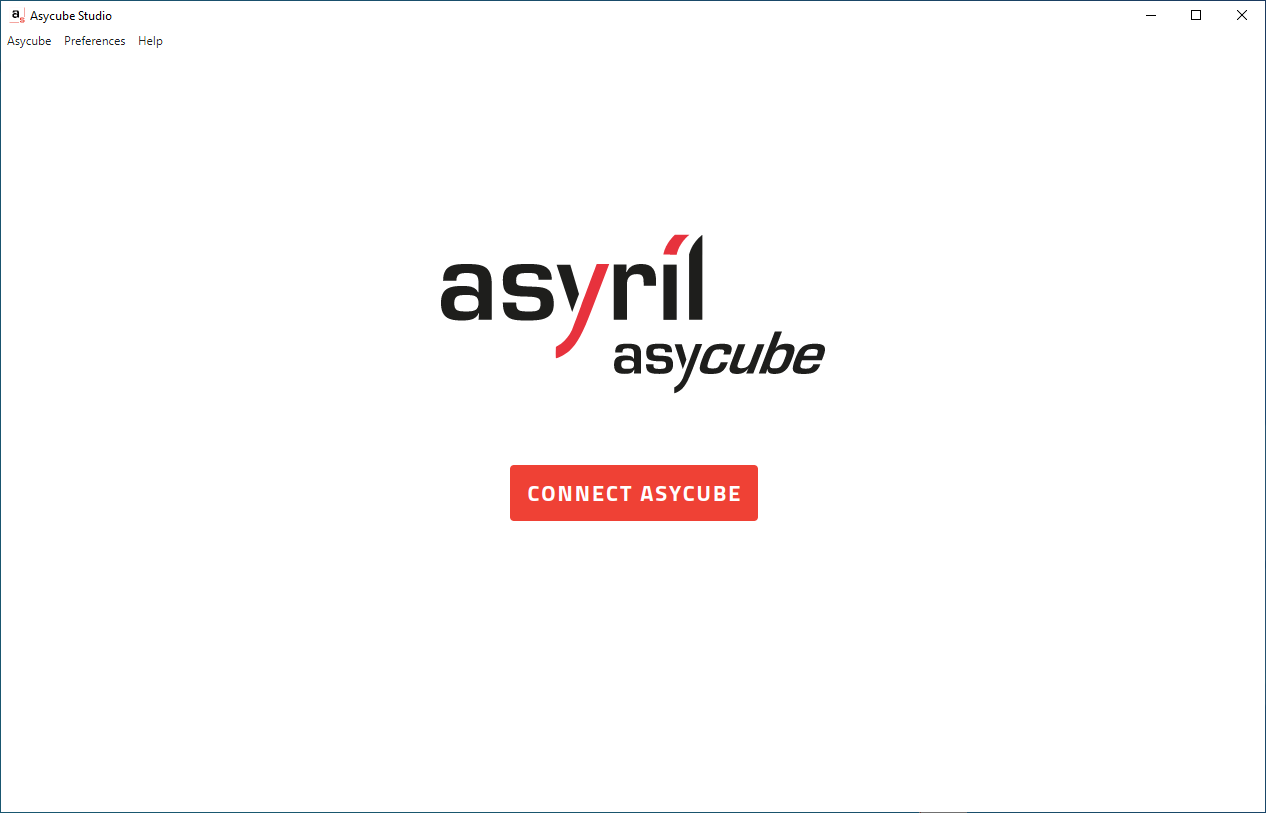
Fig. 85 Asycube Studio unconnected page
When starting Asycube Studio, no Asycube is connected. To connect to an Asycube, click on , or use the shortcut (CTRL + SHIFT + X) or
click on Asycube in the application menu and select Connect Asycube.
The list of Asycube IP Settings will open (Fig. 86). On first startup, only the default Asycube IP Settings is suggested.
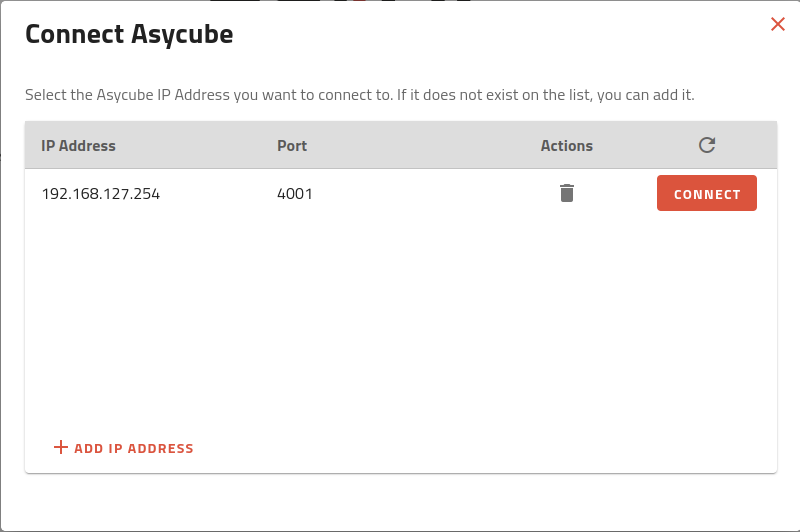
Fig. 86 List of existing Asycube IP Settings
If your Asycube is new, it will connect to the default address. Click on on the first line to establish the connection. You will now access to the Home page.
Note
You can connect to an Asycube on a different IP Address using ADD IP ADDRESS button. This will allow you to specify the IP Address and the port to connect to.
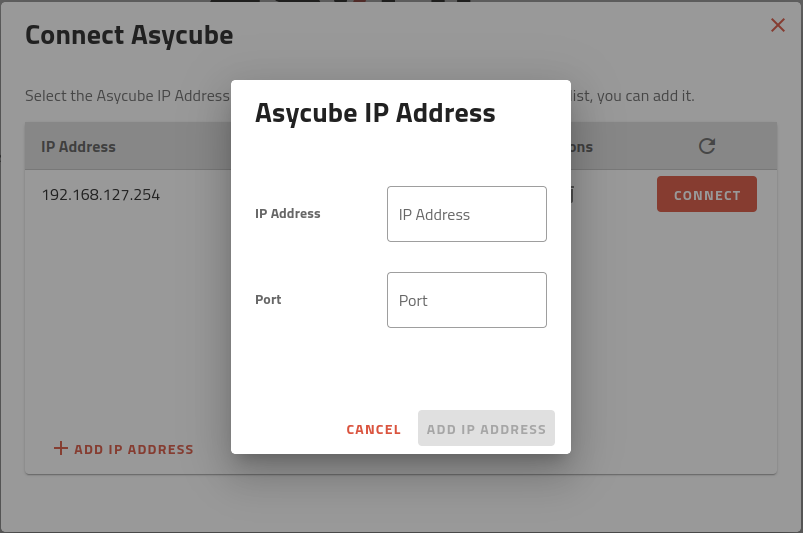
Fig. 87 Add Asycube IP Address window
Validate with when finished.
Tip
If you do not remember the IP Address of the Asycube, refer to Recover IP address using default IP address.
Tip
If the CONNECT button is grayed. This means that Asycube Studio was not able to detect an Asycube on this IP Settings. Verify that the IP Address of your computer is correct (see How to change the IP Address on your Windows PC?).